Designing Your Mala Worksheet (Downloadable PDF)
Jack UtermoehlCrafting a mala isn’t just about stringing beads together; it’s about creating a spiritual tool that supports your practice and reflects your intention. The Mala Design Worksheet encourages you to slow down, plan deliberately and make design choices that align with your purpose. The worksheet reminds makers to use it before stringing so that they avoid common mistakes and select beads and cords that support their intention.
Download the Digital Worksheet
Why Use a Mala Design Worksheet?
When you sit down to create a mala, there are many decisions to make. A clear design plan helps you organize the bead count, decide whether marker beads count toward the total of 108, and choose materials that match your intention. Instead of letting the design become complicated, the goal is to make it intentional and meaningful. This planning process also ensures that your finished mala will be usable, comfortable and durable.
Intention and Practice
The worksheet begins by asking you to articulate why you’re making the mala. You can record the quality, prayer, season or purpose the mala is meant to support, along with a mantra or intention phrase. It then invites you to clarify how you’ll use the mala – whether for mantra practice, breath awareness, prayer, meditation, devotion, daily remembrance, a specific season of life or as a gift. This section helps anchor your mala in a clear purpose before you choose any materials.
Beads and Materials
Beads form the heart of any mala, and the worksheet prompts you to consider their size and substance. Common sizes include 6 mm, 8 mm and 10 mm. You can select materials such as wood, rudraksha, sandalwood, gemstones, seeds, shells, glass or other natural or man‑made materials. Reflect on why you’re drawn to a particular material or color; is it the scent of sandalwood, the grounding feel of seeds or the clarity of crystal? Recording these notes helps you stay connected to your choices when you return to the mala later in practice.
Guru Bead and Finish
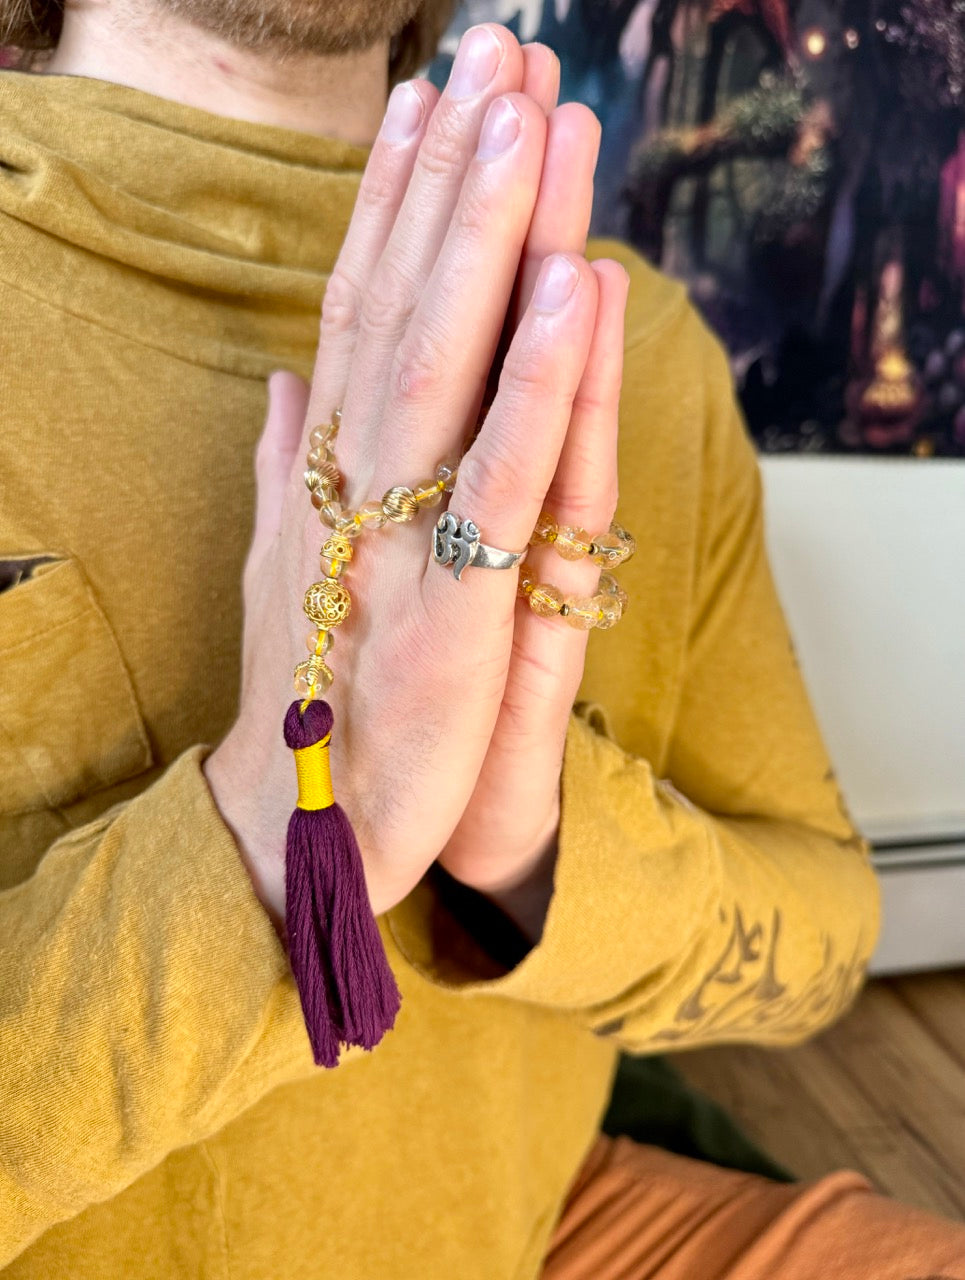
Every mala has a guru bead that marks the starting and ending point. The worksheet encourages you to describe its material, color, shape and size, and why it belongs in your design. For finishing, you can choose a tassel, pendant, charm or simple knot, noting the color or material and what it symbolizes.
Structure and Layout
A mala traditionally has 108 counting beads, and many makers also add marker beads. The worksheet offers several marker bead layouts: none; markers at 27, 54 and 81; a single marker at 54; or a custom layout. You’re also asked whether marker beads count toward the 108 counting beads, and to decide if spacers will surround the guru bead or marker beads. Jotting down pattern or layout notes and choosing three words to describe your design style (for example: grounded, luminous, earthy) help you articulate the mood you want your mala to embody.
Cord and Knotting
Cord choice affects both the look and durability of your mala. The worksheet lists common cord types like nylon, silk, cotton, polyester or jewelry thread and gives space to note the color. It reminds you to test that the cord fits through your beads and to decide on a knotting plan: knotted between every bead, unknotted, knotted by section or undecided. You can also indicate whether the mala will be used first for practice, as wearable jewelry or for both. Finally, you’re prompted to prioritize what matters most: ease of counting, comfort, strength, lightness, symbolic materials, a simple design or decorative beauty.
Before Stringing: Final Check
Before you thread the first bead, the worksheet offers a helpful checklist to ensure your mala is ready: confirm you have 108 counting beads, decide whether marker beads are included, check beads for cracks, test the cord and knots, verify the guru bead works with the cord, prepare the tassel or finishing element, make sure your layout is clear and that your workspace is set up. Taking a moment to run through this list prevents frustration and helps your crafting session flow smoothly.
Closing Question
The worksheet ends with a contemplative question: “Does this design help me return to what I am choosing to remember?”. If the answer is yes, it’s time to begin. If the design feels unclear, simplify it until it feels honest and complete.
Download the Digital Worksheet
Download the Worksheet
Ready to craft your own mala? You can download the Mala Design Worksheet as a PDF for personal or commercial use by clicking the link below. Use it to plan your mala intentionally and keep track of your materials, layout and purpose. Enjoy creating a piece that supports your practice and reflects your unique intention.

Mala Design Worksheet
View the digital worksheet below, or download the PDF to save, print, or use while planning your mala.