Craft Your Mala: Workshop Reference
Jack Utermoehl
This page is a simple construction reference for participants in the mala-making workshop or those needing instructions to follow in their own endeavor to hand knot a mala. Use it to remember the hand-knotting sequence, resolve common problems, and complete your mala at your own pace.
For information about mala symbolism, mantra meditation, and developing a personal practice, continue to the resources near the bottom of this page.
Important: Keep both ends of your cord uncut until the guru bead and tassel have been attached.
What You Need
Materials
- 108 beads
- 1 guru bead
- Mala cord
- Tassel thread or a prepared tassel
- Mala pouch
Tool
- Round-nose pliers
- Scissors
- Lighter (optional)
- Super glue (optional)
Before You Begin
- Count your beads. Confirm that you have 108 beads before tying your first knot.
- Arrange your pattern. Lay out any repeating sections, focal beads, or color changes before stringing.
- Choose an intention. You may work with a mantra, affirmation, prayer, or simple intention as you knot.
- Identify your working end. One end of the cord will remain as the short tail. The other will be the long working end used for stringing.
Step 1: Tie the Placeholder Knot
Tie a figure-eight knot near one end of the cord. Leave at least 6 inches of cord beyond the knot as your spare tail.
This tail will be used when the guru bead and tassel are added, so leave it long and do not trim it.
Note: This first knot will be untied when adding the guru bead. Any knot that can be undone without damaging the thread is ok.
Step 2: Add the First Bead
- Thread the first bead onto the long working end of the cord.
- Slide the bead down until it rests against the figure-eight knot.
- Tie a loose overhand knot immediately after the bead.
- Use the round-nose pliers to guide the knot toward the bead.
- Hold the knot in position and tighten it so it rests close to the bead.
Keep the pliers against the cord rather than pressing or scraping them against the bead. If the knot isn’t close to the bead, you can loosen the knot and try again.
Step 3: Continue Hand-Knotting
Repeat the same sequence for each remaining bead:
- Thread one bead.
- Slide it down to the previous knot.
- Tie a loose overhand knot.
- Guide the knot close to the bead with your pliers.
- Tighten the knot.
Continue until all 108 beads have been added and knotted.
Note: Do not tie the last bead on. If you need to, tie a knot that can be untied for the guru bead step.
Hand-Knotting Tips
- Work slowly. A consistent rhythm usually produces more even knots than rushing.
- Keep each knot snug. The knot should rest close to the bead without slack for the bead to slide.
- Check your count. Count your beads periodically rather than waiting until the end.
- Release twisting. Occasionally allow the strand and working cord to hang freely so the cord can unwind.
- Correct mistakes early. A misplaced bead or loose knot is easier to address before more beads are added.
- Keep both ends intact. Do not shorten the starting tail or working end while constructing the strand.
- Allow natural variation. Small differences between knots are part of a hand-knotted mala.
Step 4: Check the Finished Strand
Once the full garland has been knotted:
- Count the beads again and confirm that there are 108.
- Check the strand for missing knots, loose beads, or damaged cord.
- Make sure the starting tail and working end remain long enough for finishing.
- Keep the cord uncut.
Step 5: Add the Guru Bead and Tassel
Once all 108 beads have been knotted, bring the two ends of the strand together through the guru bead. The tassel is then attached below it.
Most malas use one larger guru bead with a single opening large enough for both cord ends to pass through together. Some guru beads have separate side holes that guide the two cord ends into one lower opening. The cord path may look different, though the finishing process serves the same purpose.
Prepare the Two Cord Ends
- Lay the completed strand on your work surface with both cord ends beside each other.
- Carefully untie the figure-eight knot from the starting end.
- Keep the final bead on each side secure while working.
- Avoid loosening the knots beside the final beads.
- Check that both cord ends are long enough to pass through the guru bead and tassel.
Thread a Single-Hole Guru Bead
- Bring both cord ends together.
- Pass both cord ends through the opening in the guru bead.
- Slide the guru bead upward toward the two final beads.
- Pull each cord end gently and evenly.
- Continue until the guru bead rests beneath the two sides of the mala.
- Check that the strand is not twisted and that both sides hang evenly.
Tip: The guru bead should bring the two sides together without pulling the mala so tightly that the strand becomes stiff or buckles.
If Your Guru Bead Has Multiple Holes
- Insert one cord end into one side opening of the guru bead.
- Insert the other cord end into the opposite side opening.
- Guide both cords through the bead until they emerge together from the lower opening.
- Pull the cords evenly until the guru bead rests beneath the two sides of the mala.
- Check that the strand hangs evenly and remains free of twists.
Secure the Strand Below the Guru Bead
- Hold both cord ends together beneath the guru bead.
- Tie the cord ends together using a secure square knot.
- Tighten the knot carefully so it sits close to the bottom of the guru bead.
- Add a second securing knot if needed.
- Inspect the strand before continuing.
Confirm that the knots are secure, the guru bead sits correctly, and the mala hangs naturally.
Attach the Tassel
- Pass both cord ends through the loop or center opening at the top of the tassel.
- Slide the tassel upward until it rests beneath the guru bead.
- Separate the tassel threads enough to position the final knot inside or immediately above the tassel head.
- Tie the cord ends together securely around the tassel connection.
- Add another knot for reinforcement.
- Pull gently on the mala and tassel to confirm that the connection holds.
Trim and Finish the Cord
- Inspect the guru bead, final knots, and tassel placement before cutting anything.
- Trim the excess cord while leaving a short tail beyond the final knot.
- If you are using synthetic cord, carefully seal the cut ends according to the cord manufacturer’s instructions.
- Keep heat away from the beads, tassel, and finished knots.
- Tuck the remaining cord ends into the tassel so they are concealed.
- Smooth the tassel threads and trim any uneven or frayed strands.
Before trimming: Check every part of the connection. Once the excess cord is cut, correcting the guru bead or tassel placement becomes more difficult.
Troubleshooting
Why is my knot sitting away from the bead?
Keep the overhand knot loose while guiding it toward the bead. Place the tip of the round-nose pliers inside or against the loose knot, move the knot into position, and tighten only after it is close to the bead.
Why does my cord keep twisting?
Stop and let the strand hang freely. Allow the cord to rotate until the stored tension releases, then continue knotting.
What should I do if my bead count is wrong?
Stop before adding the guru bead. Recount the entire strand and identify where the pattern or count changed. Correct the strand before completing the final connection.
What should I do if the cord begins to fray?
Stop working and inspect the damaged area. Continuing with weakened cord can cause the finished mala to break. Ask Jack whether the cord can be repaired or should be replaced.
Do all of my knots need to look identical?
Small variations are expected in a hand-knotted mala. Focus on keeping the beads secure and the knots reasonably close to each bead.
Your First Practice
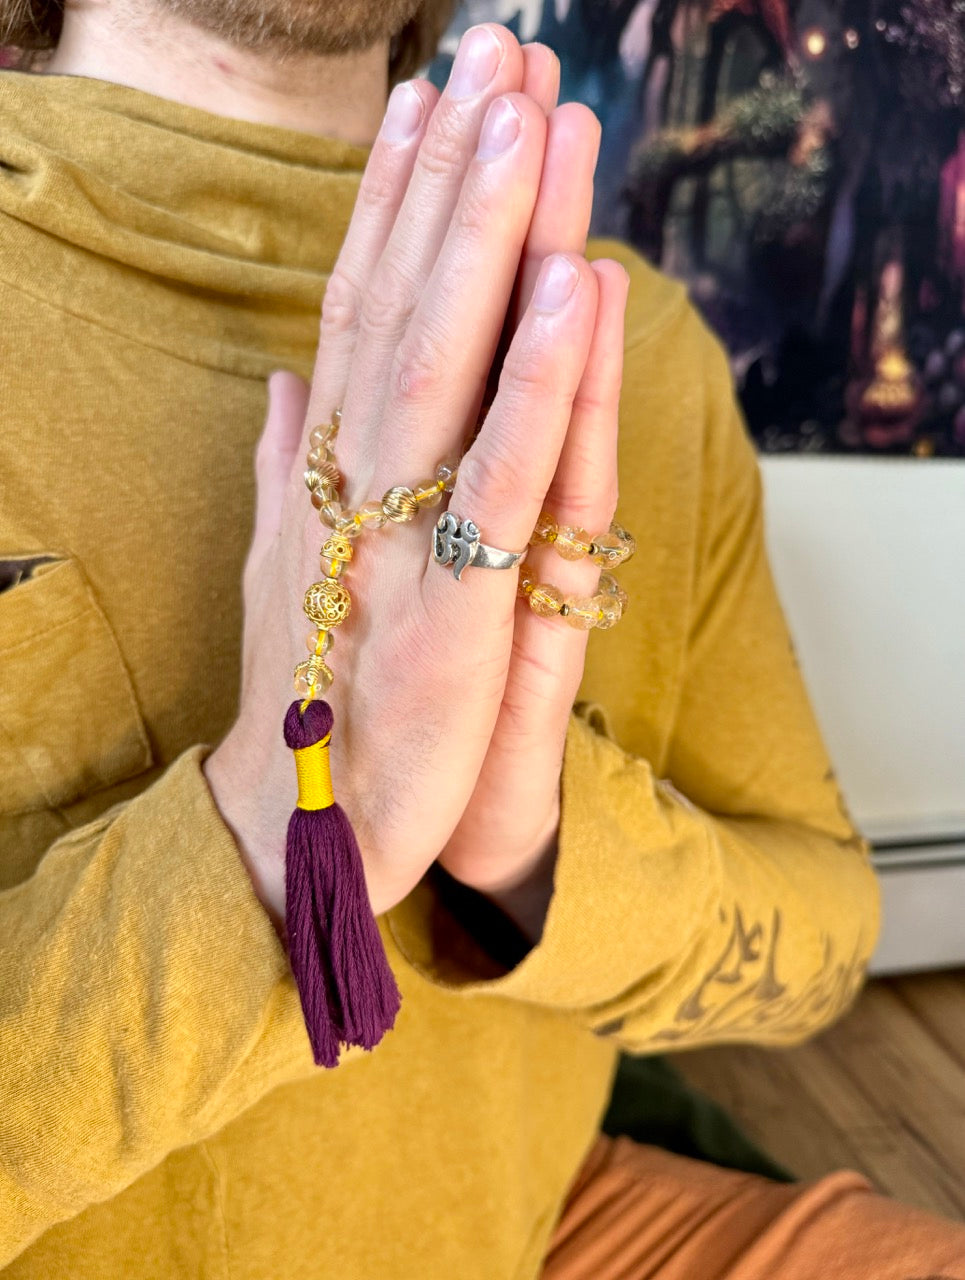
Once your mala is complete, choose a mantra, affirmation, or prayer. You may also begin with whatever words naturally arise in the moment.
- Begin with the first bead beside the guru bead holding with your thumb and middle finger.
- Repeat your chosen mantra once for each bead.
- Move through all 108 beads.
- When you return to the guru bead, pause rather than crossing over it.
- Sit quietly and notice the resonance of the practice.
- Want to continue? Turn the mala around and count back the way you came.
Basic Mala Care
- Store your mala in its pouch when it is not being used.
- Avoid pulling or stretching the knotted strand.
- Protect the cord and tassel from prolonged exposure.
- Keep the mala away from harsh chemicals.
- Inspect the cord periodically for wear or fraying.
Continue Learning
These resources provide more information about mala meditation, symbolism, and personal practice.
- Designing Your Mala Worksheet
- What Is a Mala and How Do You Use One?
- Mala Handbook (in progress)
Created by Jack Utermoehl, founder of Asivana Yoga.