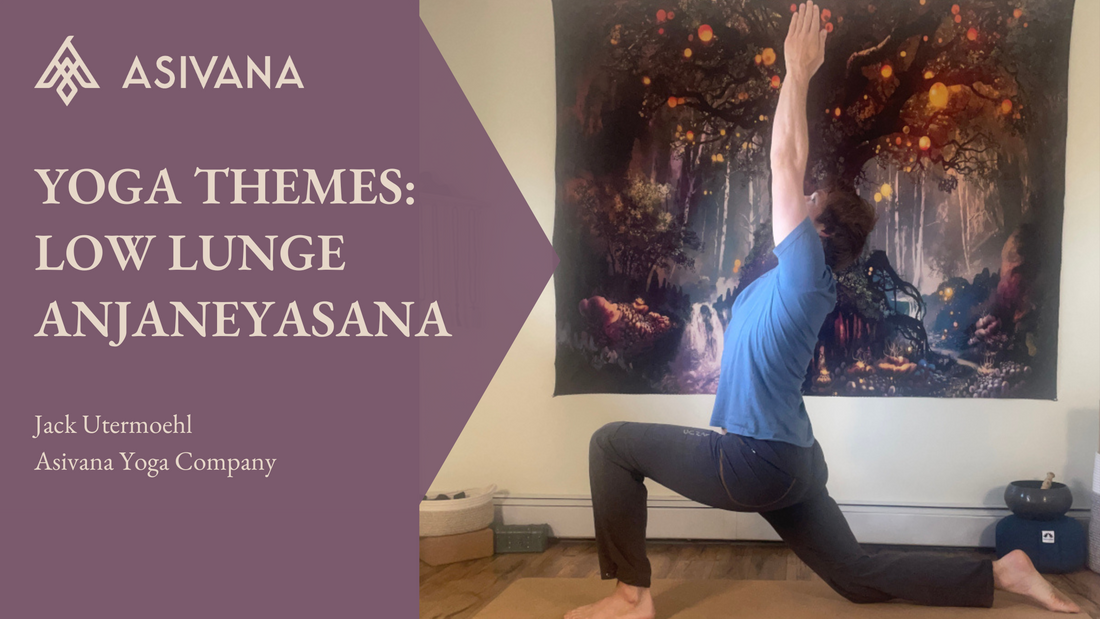
Master the Low Lunge (Anjaneyasana): A Complete Guide
Jack UtermoehlShare
Hey there, fellow yogis! I am absolutely thrilled to share my knowledge and passion for yoga with you in this comprehensive blog post about one of my favorite poses – the Low Lunge or Anjaneyasana (“Aan-jah-nay-ah-saana”). Before we dive into the nitty-gritty, let's first get to know this amazing asana a bit better.
An Overview of Low Lunge (Anjaneyasana)
Anjaneyasana is a powerful and grounding pose that offers numerous physical and mental benefits. It might look simple at first, but trust me, there's a lot more to this pose than meets the eye. When practiced with proper alignment and focus, the low lunge can help improve your balance, strength, and flexibility, and even help you connect with your inner strength. Pretty cool, huh?
The Importance of Anjaneyasana in a Yoga Practice
As a yoga teacher, I always emphasize the importance of integrating a variety of poses into your practice or sequences. By doing so, you ensure that you're working on different muscle groups, improving your overall flexibility and strength, and keeping your practice fresh and exciting. Anjaneyasana, with its unique combination of benefits, is definitely a must-have pose in any well-rounded yoga practice.
Now, you might be wondering why we're talking about a pose called "Low Lunge" and not just a regular lunge. Well, Anjaneyasana has a beautiful story behind it, connected to the powerful monkey deity Hanuman and his mother, Anjaneya. The name "Anjaneyasana" itself is derived from the Sanskrit word "Anjaneya," which means "son of Anjana." In this blog post, I'll not only share the story behind this amazing pose but also help you understand, perform, and appreciate low lunge like never before.
I am deeply committed to helping the yoga community thrive and grow. My goal is to provide you with valuable information and insights that will enhance your practice and deepen your connection with this ancient tradition. So, without further ado, let's embark on this enlightening journey together and explore the fascinating world of Anjaneyasana!
The Benefits of Practicing Low Lunge (Anjaneyasana)
Let's dive into the incredible benefits this pose has to offer. Low lunge is a versatile and powerful pose that can benefit practitioners of all levels. From physical perks to mental advantages, Anjaneyasana truly has it all. So, without further ado, let's explore the multitude of reasons why you should integrate this fantastic pose into your regular yoga practice.
Physical Benefits
Anjaneyasana is a powerhouse when it comes to physical benefits. From strengthening your lower body to improving your balance, this pose has a little something for everyone.
Strengthening Lower Body: Anjaneyasana is a fantastic way to build strength in your legs, glutes, and core. The pose engages your quadriceps, hamstrings, and gluteal muscles, making it an excellent lower body workout. Plus, it helps stabilize and strengthen your core, which is crucial for overall physical health and posture.
Opening the Hips: Tight hips, anyone? The Low Lunge is a fantastic hip opener, stretching the hip flexors, and providing relief for tightness and tension in the hip area. This is especially beneficial for those who spend long hours sitting, as well as runners and athletes who require flexibility and mobility in their hip joints.
Improving Balance and Stability: Anjaneyasana challenges your balance, as you need to maintain stability on one leg while sinking into the lunge. Practicing this pose regularly can help you develop better balance, coordination, and proprioception – which is your body's awareness of where it is in space.
Mental Benefits
As we know, yoga is more than just a physical practice – it's also a mental and spiritual journey. Anjaneyasana has some fantastic mental benefits that complement its physical perks.
Enhancing Focus and Concentration: To maintain proper alignment and balance in Anjaneyasana, you'll need to stay focused and present in the moment. This can help sharpen your concentration and mental clarity, both on and off the mat.
Reducing Stress and Anxiety: Like many other yoga poses, Anjaneyasana encourages deep, mindful breathing, which is known to help alleviate stress and anxiety. As you breathe deeply into the pose and focus on the present moment, you may find that your mind begins to quiet, and a sense of calm washes over you.

Step-by-Step Guide to Performing Low Lunge (Anjaneyasana)
I'm thrilled to guide you through the process of performing this fantastic pose. Proper alignment is crucial to experiencing the full range of benefits and preventing injury, so let's dive right in and learn how to master the Low Lunge step by step.
Preparing for Anjaneyasana
- Begin in Downward-Facing Dog (Adho Mukha Svanasana) with your hands shoulder-width apart and feet hip-width apart.
- Inhale and lift your right leg up towards the sky in Three-Legged Dog.
- Exhale and step your right foot forward between your hands, aligning your right knee directly above your right ankle.
Detailed Instructions for Proper Alignment
- Lower your left knee to the ground and untuck your left toes, resting the top of your left foot on the mat.
- Keep the back toes tucked for extra knee support.
- Inhale and lift your torso upright, bringing your hands to rest on your right thigh or raising them overhead with your palms facing each other.
- Keep your right knee stacked directly above your right ankle, ensuring that it doesn't extend past your toes.
- Engage your core muscles to maintain stability and protect your lower back.
- Draw your hips down and forward towards the ground, lengthening your lower back and deepening the stretch in your left hip flexors.
- Relax your shoulders away from your ears and broaden your chest, opening your heart.
- Gaze forward or slightly up, keeping your neck long and relaxed.
- Hold the pose for 5-10 breaths, focusing on deep, even inhalations and exhalations.
- To release, place your hands on the mat, tuck your left toes under, and step your right foot back into Downward-Facing Dog. Repeat the pose on the left side to ensure balance in your practice.
Tips for Deepening the Pose
- To intensify the stretch in your hips, try sinking your hips lower towards the ground while maintaining proper alignment.
- If you'd like to challenge your balance, try lifting your arms overhead and bringing your palms together in a prayer position (Anjali Mudra).
- You can also add a gentle backbend to the pose by lifting your chest towards the sky and gently arching your back, being mindful not to compress your lower back.
Modifications and Variations for Different Levels
- If you have difficulty keeping your balance, try widening the distance between your feet.
- If you experience knee discomfort, fold a blanket or place a cushion under your back knee for extra padding.
- For an extra challenge, lift your back knee off the ground fully or hovering your knee an inch or two above your mat.
You now have all the tools you need to perform Anjaneyasana with confidence and proper alignment. Remember, consistency is key when it comes to yoga, so keep practicing, and you'll undoubtedly see improvement over time. In the upcoming sections, we'll discuss how to integrate Anjaneyasana into your yoga practice and explore common mistakes to avoid.
Integrating Low Lunge (Anjaneyasana) into Your Yoga Practice
Now that we've mastered the alignment and technique for Anjaneyasana, it's time to discuss how to seamlessly integrate this powerful pose into your regular yoga practice or sequences. Whether you're a seasoned practitioner or a newbie, low lunge can serve as a valuable addition to your routine. So, let's dive into some creative ways to make Anjaneyasana a staple in your practice.
Warm-Up Sequence
Low Lunge is a fantastic pose to include in your warm-up sequence as it helps to:
- Stretch the hip flexors and hamstrings
- Activate and strengthen the legs and core
- Improve balance and stability
Here's a simple warm-up flow that integrates Anjaneyasana:
- Begin in Mountain Pose (Tadasana)
- Move into Forward Fold (Uttanasana)
- Step back into Plank Pose (Kumbhakasana)
- Lower down into Chaturanga Dandasana (Four-Limbed Staff Pose)
- Inhale into Upward-Facing Dog (Urdhva Mukha Svanasana)
- Exhale into Downward-Facing Dog (Adho Mukha Svanasana)
- Step your right foot forward into Low Lunge (Anjaneyasana)
- Repeat on the left side
- Return to Downward-Facing Dog (Adho Mukha Svanasana)
Sun Salutation Variations
Another great way to include Anjaneyasana in your practice is by integrating it into Sun Salutations (Surya Namaskar). Here's a variation you can try:
- Begin in Mountain Pose (Tadasana)
- Move into Forward Fold (Uttanasana)
- Step back into Plank Pose (kumbhakasana)
- Lower down into Chaturanga Dandasana (Four-Limbed Staff Pose)
- Inhale into Upward-Facing Dog (Urdhva Mukha Svanasana)
- Exhale into Downward-Facing Dog (Adho Mukha Svanasana)
- Step your right foot forward into Low Lunge (Anjaneyasana)
- Step your left foot forward to meet your right, returning to Forward Fold (Uttanasana)
- Rise back to Mountain Pose (Tadasana)
- Repeat on the left side
Themed Practice
You can also create a themed practice focused on hip openers, strength, and balance, where Anjaneyasana serves as a central pose. Consider including other complementary poses like:
- Pigeon Pose (Eka Pada Rajakapotasana)
- Warrior II (Virabhadrasana II)
- Triangle Pose (Trikonasana)
- Tree Pose (Vrksasana)
- Half Moon Pose (Ardha Chandrasana)
Restorative Practice
Anjaneyasana can also be modified for a more restorative practice. Use props like straps, blocks, or blankets to support your body in the pose, allowing for deeper relaxation and release.
- Place a folded blanket under your back knee for extra cushioning.
- Use a block under your hands for added support and stability.
And there you have it, a variety of ways to integrate the transformative power of Anjaneyasana into your yoga practice. Remember, regular practice is key to reaping the full range of benefits from any pose, so be sure to include low lunge in your routine frequently. As you become more comfortable with Anjaneyasana, don't hesitate to explore and experiment with different variations, flows, and modifications to keep your practice fresh and engaging.

A Yoga Sequence Featuring Low Lunge
Alright, my fellow yogis, let's dive into an energizing and dynamic yoga sequence that integrates low lunge (Anjaneyasana) along with other complementary poses. This sequence will provide you with a well-rounded practice, helping to build strength, flexibility, and balance. Remember to breathe deeply and listen to your body as you flow through the poses. Practice as a complete sequence or add it to your class sequences as a part of your flow.
Tabletop Pose
Instructions: Start in Tabletop Pose, with your hands placed shoulder-width apart, directly under your shoulders, and your knees hip-width apart, under your hips. Keep your spine neutral and gaze downward.
Modifications: Place a folded blanket under your knees for added cushion and comfort.
Cat/Cow Pose
Instructions: As you inhale, arch your spine, lifting your chest and tailbone while lowering your belly toward the floor (Cow Pose). As you exhale, round your spine, tuck your tailbone under, and bring your chin toward your chest (Cat Pose). Repeat 3-5 times, moving with your breath.
Anahatasana (Melting Heart Pose)
Instructions: From Tabletop Pose, walk your hands forward, keeping your hips stacked over your knees. Allow your chest to melt toward the floor as you stretch your arms and upper body. Rest your forehead on the mat and breathe deeply.
Modifications: Place a bolster or folded blanket under your chest for added support and comfort.
Downward Facing Dog
Instructions: Tuck your toes under, press your fingers and knuckles firmly into the mat, and lift your hips upward. Keep your knees slightly bent if needed and focus on lengthening your spine.
Low Lunge to Half Splits Flow
Low Lunge
Instructions: From Downward Facing Dog, step your right foot forward between your hands. Lower your left knee to the mat, keeping your right knee directly over your right ankle. Keep your hands on the mat or raise them overhead.
Modifications: Place a folded blanket under your left knee or rest your hands on blocks for added support.
Half Splits (Ardha Hanumanasana)
Instructions: Shift your weight back, straightening your right leg and flexing your right foot. Keep your hands on either side of your right leg for support.
Modifications: Place your hands on blocks help maintain balance and alignment.
Return to Low Lunge: Transition back to Low Lunge by bending your right knee and placing your hands on the mat or raising them overhead.
Twisted Low Lunge
Instructions: From Low Lunge, place your left hand on the mat inside your right foot. Inhale and raise your right arm toward the sky, opening your heart and twisting to the right. Keep your gaze on your right hand or toward the floor for balance.
Modifications: Place your left hand on a block for added support and a deeper twist.
Crescent Lunge
Instructions: From Twisted Low Lunge, lower your top hand back to the mat, then tuck your back toes under and lift your knee off the ground. Raise your torso and arms, keeping your arms alongside your ears or bringing your hands to heart center.
Vinyasa Flow
Instructions: Lower your hands to the mat and step back to Plank Pose. As you exhale, lower down through Chaturanga Dandasana, keeping your elbows close to your body. Inhale into Upward Facing Dog or Cobra Pose, then exhale to Downward Facing Dog. Take a few breaths here to reset before repeating the sequence on the other side.
Repeat Sequence on the Other Side
Now that you've completed the sequence on your right side, it's time to switch and perform the same sequence on your left side. Remember to maintain proper alignment and breathe deeply as you flow through the poses. Continue to repeat the sequence as many times as you want, move on to the next series of poses, or close out your practice.
After completing the sequence on both sides, take a moment in Downward Facing Dog or Child's Pose. Then, when you're ready, slowly make your way to a comfortable seated position and close your practice with a few moments of stillness and gratitude.
This sequence is a beautiful way to integrate low lunge (Anjaneyasana) into your yoga practice, providing an opportunity to explore the pose in a dynamic and flowing manner. As always, remember to listen to your body, make modifications as needed, and enjoy the journey.
Anatomy of Low Lunge (Anjanayasana)
Let's dive into the fascinating world of anatomy and explore how our amazing body works in Low Lunge, or Anjaneyasana. Anatomy may not be your thing but it’s important to understand the basics. By understanding the muscles, joints, and body parts engaged during this pose, we can better appreciate the benefits we're receiving and ensure proper alignment for a safe and effective practice. So, let's get to it!

Primary muscles and joints involved:
Hip flexors: Anjaneyasana is well-known for its ability to stretch and release tension in the hip flexors, particularly the iliopsoas and rectus femoris muscles. Tight hip flexors are a common issue for many people, especially those who sit for extended periods.
Quadriceps: The front leg's quadriceps muscles are also stretched in Low Lunge, helping to release tension and improve overall flexibility.
Gluteal muscles: Your back leg's gluteal muscles, particularly the gluteus maximus, are engaged to provide stability and strength as you hold the pose.
Hamstrings: While not the primary focus, the back leg's hamstrings are also stretched to some extent in Low Lunge.
Core muscles: To maintain a stable and balanced posture, the core muscles, including the transverse abdominis, obliques, and erector spinae, must work together.
Key points of alignment:
Front knee: Ensure your front knee is stacked directly above your ankle, forming a 90-degree angle. This alignment protects your knee joint and ensures the stretch is focused on your hip flexors and quadriceps.
Back leg: Keep your back leg strong and engaged, pressing the top of your foot into the mat (unless you're in a Crescent Lunge variation). This engagement helps stabilize the pose and deepens the stretch in your hip flexors.
Pelvis: Tuck your tailbone slightly under and engage your core to avoid overarching your lower back. This alignment is crucial for protecting your lumbar spine and maintaining proper posture.
Shoulders: Keep your shoulders relaxed and down away from your ears to prevent tension from building up in your neck and upper back.
So there you have it, understanding the anatomy of low lunge allows us to deepen our practice and gain a greater appreciation for this powerful and transformative pose. Keep these anatomical insights in mind as you flow through your practice, and remember, the journey of yoga is one of continuous learning and self-discovery.
The History of Low Lunge (Anjaneyasana)
Understanding the mythology and symbolism behind a pose can truly enrich your practice and bring a deeper sense of connection to both the pose itself and the yoga tradition as a whole. So, let's jump right in and explore the captivating tale of Anjaneyasana.
The Connection to Hanuman's Mother Anjaneya
First things first, let's talk about the name. As I mentioned earlier, Anjaneyasana comes from the Sanskrit word "Anjaneya," which means "son of Anjana." Anjana, in Hindu mythology, is the mother of the mighty monkey deity Hanuman, who plays a significant role in the epic Ramayana.
Now, I know what you're thinking – what does a monkey god have to do with a yoga pose? Well, it's said that the low lunge represents the first step Hanuman took on his legendary leap to rescue Sita, the wife of Lord Rama, who had been abducted by the demon king Ravana. Hanuman's devotion and dedication to Rama and Sita are symbols of selfless service, love, and devotion – qualities that we can all aspire to embody in our own lives.
The Symbolism of Anjaneyasana in Yoga Philosophy
Low lunge is more than just a physical pose. When we practice Anjaneyasana, we can channel the energy of Hanuman and his unwavering devotion. This powerful symbolism can inspire us to stay committed to our practice and overcome the obstacles that come our way. Here are a few key elements of the pose's symbolism:
Devotion and Love: As you sink into your low lunge, imagine yourself embodying Hanuman's fierce dedication to Rama and Sita. This can help you cultivate devotion and love in your own life, both on and off the mat.
Strength and Courage: The low lunge is a powerful pose that requires strength, balance, and stability. By practicing this pose, you can tap into your inner reservoir of strength and courage, just like Hanuman.
Opening and Surrender: Anjaneyasana is a hip-opening pose, which can be both physically and emotionally challenging. As you breathe into the pose, try to let go of any resistance and surrender to the experience, allowing yourself to open up to new possibilities and growth.
Humility: As you lower your back knee to the ground in Anjaneyasana, you're also symbolically bowing down in humility to yourself. This can be a reminder to stay humble and grounded in your practice, always remembering that there's more to learn and discover.
As you practice Anjaneyasana, remember the tale of Hanuman and his devotion, and let it inspire you to bring more love, strength, and humility into your own practice.
Complementing Flowing Sequence
To honor the connection between Anjaneyasana and Hanuman, try integrating this flowing sequence into your practice or class.
- Begin in Low Lunge (Anjaneyasana) with your right foot forward and left knee on the ground.
- Inhale, and as you exhale, straighten your right leg and shift your hips back, transitioning into Ardha Hanumanasana (Half Splits).
- Take a few breaths in Half Splits, allowing your hamstrings to open up gently.
- Flow between Low Lunge (inhale) and Half Splits (exhale) several times.
If you're ready for the advanced pose, slide your right foot forward and your left foot back, lowering your hips towards the ground, coming into Hanumanasana (Full Splits). If full splits is not accessible, remain in Half Splits. I have one rule here, if you come into full splits you have to get yourself out. I don’t make up the yoga rules (but I did make this one up).
- Hold Hanumanasana for a few breaths
- Engage your leg muscles and maintain a steady breath.
- Return to Low Lunge, shift your weight forward, bending your right knee and drawing your left foot back in, coming back into Anjaneyasana.
Taking Low Lunge Variations Beyond the Flow
From here you can integrate the flow into your practice or sequences. Explore alternative transitions such as lifting into Crescent Lunge, pressing forward into Lizard Lunge, or rotating down to Head-to-Knee pose. There are dozens of transitions to explore. Find what works for you!
Common Mistakes in Low Lunge and How to Avoid Them
Let’s discuss an essential aspect of mastering any yoga pose: identifying and avoiding common mistakes. Even experienced practitioners can make mistakes in their alignment or execution of a pose, and low lunge is no exception. By being aware of these potential pitfalls, you'll be better equipped to prevent injuries and maximize the benefits of low lunge in your practice.
Mistake #1: Knee Alignment
One common mistake in Anjaneyasana is allowing the front knee to extend past the ankle, which can place undue stress on the knee joint. To avoid this:
- Ensure that your front knee is stacked directly above your ankle, forming a 90-degree angle.
- If necessary, adjust the distance between your feet to maintain proper alignment.
Mistake #2: Collapsed Arch in the Front Foot
Another issue is the collapsing of the arch in the front foot, which can lead to instability and discomfort in the pose. To prevent this:
- Press down evenly through the entire front foot, especially the big toe mound and the outer edge of the heel.
- Engage the muscles in the front leg to help lift the arch and create a stable foundation.

Mistake #3: Swayed Lower Back
Many practitioners tend to sway their lower back in Anjaneyasana, which can cause compression and discomfort. To correct this:
- Engage your core muscles to stabilize your spine and protect your lower back. “Knit the core together”.
- Lengthen your tailbone towards the ground, creating space in your lumbar spine.
Mistake #4: Hunched Shoulders
It's not uncommon for yogis to hunch their shoulders up towards their ears in Anjaneyasana, which can create tension in the neck and shoulders. To avoid this:
- Actively draw your shoulder blades down your back, creating space between your ears and shoulders.
- Keep your chest open and lifted, inviting a sense of expansiveness in the upper body.
Mistake #5: Neglecting the Back Leg
Finally, some practitioners forget to engage their back leg in Low Lunge, which can limit the stretch in the hip flexors and hamstrings. To fix this:
- Press down firmly through the top of your back foot, activating the muscles in your back leg.
- Lengthen your back thigh towards the sky, deepening the stretch in the hip flexors and hamstrings.
By being mindful of these common mistakes and making the necessary adjustments, you'll be well on your way to a safe, effective, and enjoyable Anjaneyasana practice. Remember, the key to mastering any yoga pose is consistent practice and self-awareness. Keep learning, growing, and refining your practice, and you'll undoubtedly experience the full range of benefits that yoga has to offer.
Props for Low Lunge: Making Anjanayasana Accessible to All
Now, I'd like to talk about how we can make low lunge (Anjaneyasana) accessible to everyone, regardless of their experience or physical abilities. The beauty of yoga lies in its adaptability, and by using props and accessories, we can modify poses like Anjaneyasana to suit our unique needs. Here are some helpful props and accessories to consider for your low lunge practice.
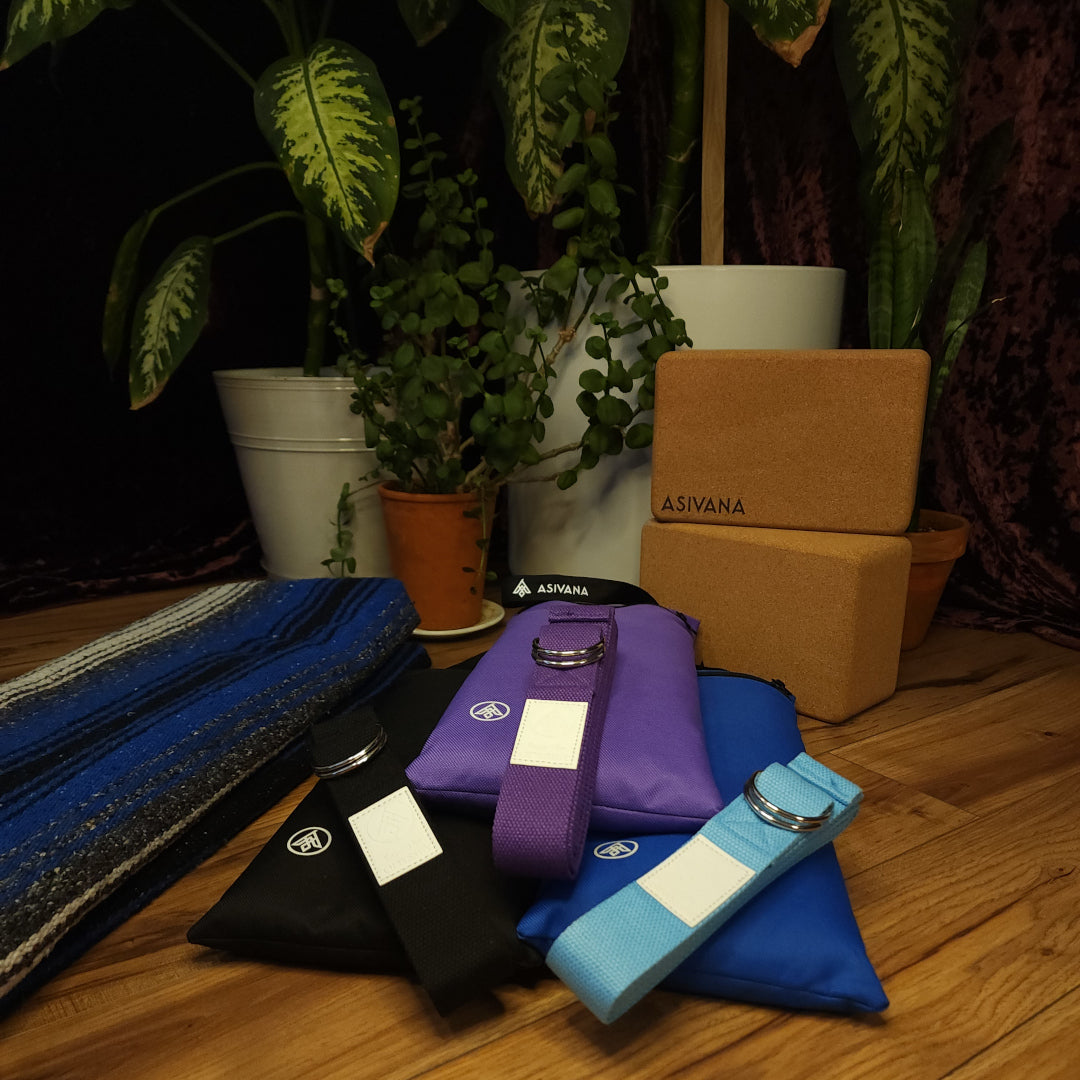
Asivana Cork Yoga Blocks
Our cork yoga blocks are a versatile and essential prop for any yoga practitioner. In Anjaneyasana, placing a block under the hand(s) on the inside of your front foot can provide added support and stability. A block can also be placed under the front foot for added depth for those with great flexibility. .
Asivana Yoga Straps
Our yoga strap is another excellent prop for deepening your Anjaneyasana practice. If you have tight hip flexors or hamstrings, looping a strap around your front foot can help you maintain alignment and stability while gently stretching the muscles. You can also loop the strap around your back foot and gently pull it towards your glutes to intensify the quad stretch.
Wall Support
Sometimes, a simple wall can be the perfect prop! If you struggle with balance in Anjaneyasana, try positioning your Low Lunge near a wall. You can use the wall for support by placing your hands or fingertips against it, helping you maintain stability and focus on the pose's other aspects.
By integrating props and accessories into your Anjaneyasana practice or sequences, you can ensure that this powerful pose is accessible and beneficial. Don't be afraid to experiment with different modifications and find what works best for your unique body or students. As always, listen to your body and honor its wisdom.
Enhancing Your Low Lunge Practice with Asivana
Alright, my fellow yogis, as we come to the end of this in-depth exploration of Low Lunge (Anjaneyasana), I hope you've found immense value in understanding the technique, history, and benefits of this powerful pose. But, let's not stop there! Let's continue to grow and enhance our yoga practice together.
I'm thrilled to invite you to join our vibrant community on Instagram @AsivanaYoga, where we share our progress, tips, and stories with one another. We'd love to see how you're integrating low lunge into your practice, so be sure to tag us in your photos or videos. Your journey may just inspire someone else!

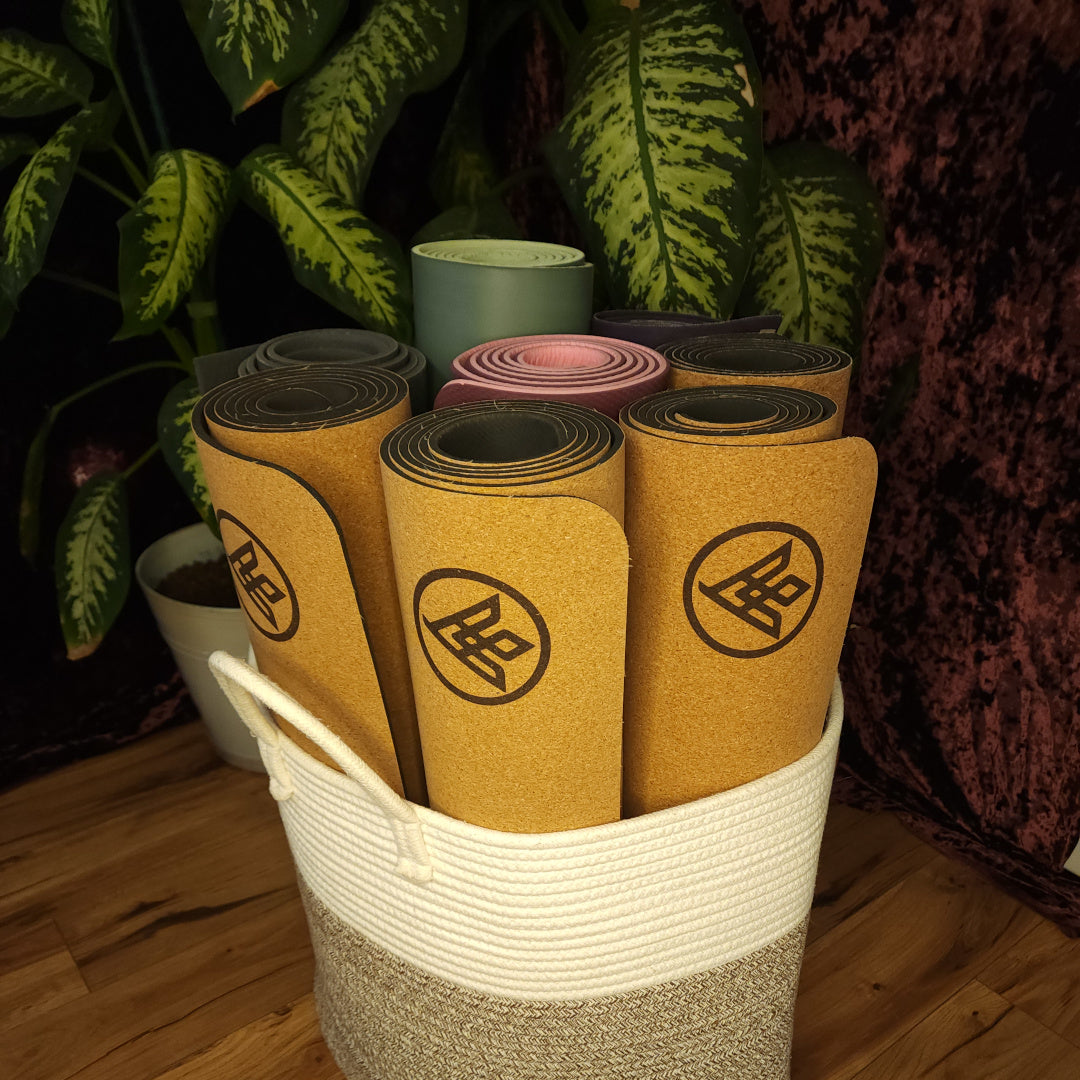
Now, speaking of enhancing your practice, I cannot emphasize enough the importance of using the right yoga mat. That's where Asivana's cork yoga mats come in. Our mats provide the perfect balance of comfort and stability, ensuring that you can confidently practice low lunge without worrying about slipping or losing your balance. Plus, the natural cork surface is eco-friendly and offers a unique, grounding experience. Trust me, once you've tried one of our cork yoga mats, you'll never go back!
So, there you have it, dear friends. Let's continue to deepen our practice, explore new poses, and celebrate the incredible power of yoga in our lives. Remember to share your yoga journey with us on Instagram, and check out Asivana's cork yoga mats to elevate your practice. As always, I'm here to support you every step of the way. Here's to finding balance, strength, and harmony on and off the mat. Namaste!


